Creating Raised Beds Garden
Like most things in life, creating a bountiful raised bed garden starts with the foundation – the soil. Vego raised beds provide an excellent opportunity to customize your garden space, and filling them with nutrient-rich organic soil is the key to a successful harvest. Purchasing or building raised beds may have up front cost but you are investing and amortizing that cost over your years of garden production. You are investing in your family’s food and health. In this guide, we’ll walk you through the steps of assembling your Vego raised beds, leveling them, and filling them with the right mix of organic soil, including a clever technique like Hugelkultur to maximize fertility and minimize costs.
Step 1: Pick Your Style
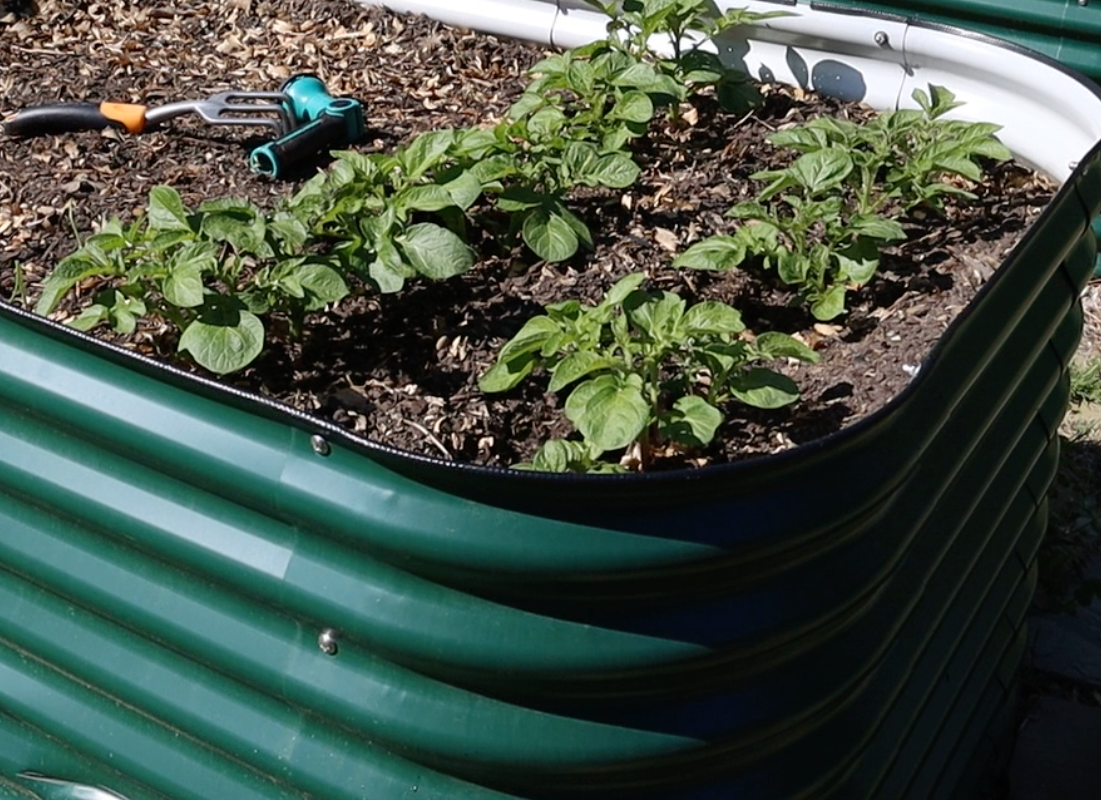
There are so many options for raised beds: height, width, shape, metal, wood. We chose the Vego 32″ Extra Tall Raised Beds for quality to last for years. Choose a height that’s comfortable to you, bending over for low raised beds is tiring. Consider that as you age, bending over to garden will become more difficult. Consider the shape of the garden you want to create to know what shape beds you want: circle, oval or L-shape beds. We chose the British Green color for our beds, but there are many good colors to pick from: British Green, Modern Gray, Olive Green, Pearl White, Sky Blue & Terra Cotta. Vego beds also come in re-configurable sizes, purchasing a 10 in 1 means you can reconfigure your garden beds into multiple shapes by just moving panels around and rebolting. Beds are available in 4in1, 6in1, 9in1, 10in1 and round patterns.
Step 2: Assemble Your Vego Raised Beds
Before you can start filling your raised beds, assembling them is the first crucial step. Lay out all the components, following the manufacturer’s instructions. Vego raised beds are known for their easy assembly, typically requiring no special tools. Once assembled, place them in the desired location with adequate sunlight, ensuring good drainage. There are a number of bolts, nuts and washers to assemble but once it’s together it will stay put.
Step 3: Level the Beds
For optimal performance and water distribution, it’s important to ensure that your raised beds are level. Use a level tool to check the evenness, adjusting the bed’s placement as needed. See our video below to watch how we leveled our own beds. A level bed not only facilitates proper water drainage but also provides a stable foundation for your plants’ roots to establish and grow.
Step 4: Selecting the Right Soil
Now comes the exciting part – filling your Vego raised beds with nutrient-rich organic soil. Instead of purchasing expensive garden soil, consider sourcing a blend of high-quality topsoil and organic compost from local suppliers. Buying in bulk from a supplier should be cheaper than buying bags from your big box store if you have more than one bed. We found a supplier in Texas https://www.texasorganicsoil.com/, but there should be one near you. Buying locally will also help support local businesses and the local economy. Check out our videos below on filling the beds with leaves, logs, and soil.
Step 5: Embrace Hugelkultur for Sustainable Gardening
To make the most of your raised beds and boost fertility, consider incorporating Hugelkultur principles. Hugelkultur involves layering compostable logs, branches, and other brown materials at the bottom of the bed before adding soil. As these materials decompose, they provide a consistent source of nutrients to your plants, reducing the amount of additional soil needed. Our videos below will show how we filled our beds with logs, leaves, branches and soil.
Benefits of Hugelkultur:
- Nutrient-Rich Soil: The decomposing organic matter releases nutrients gradually, promoting long-term soil fertility.
- Water Retention: Hugelkultur beds retain moisture effectively, reducing the frequency of watering.
- Cost-Efficiency: By using compostable materials at the base, you can minimize the amount of purchased soil, saving on costs.
Step 6: Fill and Plant
Once you’ve implemented the Hugelkultur layer, begin filling the rest of the raised bed with your selected soil blend. Level the surface, ensuring an even distribution of soil. Now, your Vego raised beds are ready for planting!
Videos for Creating a Bountiful Raised Bed Garden
Check out our videos of how we created our Raised Beds Garden. Creating a garden with raised beds offers a customizable and efficient way to grow your own organic produce. By following these steps – from assembly to soil selection and the incorporation of Hugelkultur – you’re setting the stage for a bountiful and sustainable garden. Enjoy the journey of nurturing your plants and reaping the rewards of homegrown goodness!
Leave a Reply